


Tenant's Survival Guide to End of Tenancy House Cleaning
Posted on 23/09/2025
Tenant's Survival Guide to End of Tenancy House Cleaning
Leaving a rental property is a significant milestone for any tenant. However, before you pack your bags and hand over the keys, one crucial responsibility remains--end of tenancy house cleaning. This essential process ensures you comply with the lease agreement, increases your chances of a full deposit return, and leaves a positive impression on your landlord or property manager. In this comprehensive guide, we provide expert tips, a detailed checklist, and helpful insights to empower tenants to master end of lease cleaning and make moving out in 2024 stress-free and successful.
Understanding End of Tenancy Cleaning: What is it and Why it Matters?
End of tenancy cleaning, also known as move-out cleaning or lease-end cleaning, refers to deep cleaning a rental property before vacating it. Unlike regular weekly chores, this clean is thorough and meticulous, aiming to restore the property to the same (or better) condition as when you moved in. Landlords or letting agents often conduct detailed inspections, and deductions from your security deposit may apply if cleanliness standards are not met.
Why is Professional-Level Cleanliness Required?
- Deposit Protection: Most disputes between tenants and landlords revolve around cleanliness and damage. Proper cleaning protects your deposit.
- Contractual Obligation: Your tenancy agreement likely stipulates a required level of cleanliness upon vacating.
- Simplifies New Tenant Handover: A sparkling, hygienic home is inviting and ensures a seamless transition for new tenants.
How to Prepare for End of Tenancy Cleaning
Preparation is the backbone of successful end of lease cleaning. Here's your survival checklist before the actual cleaning begins:
- Review your tenancy agreement for cleaning requirements or check-out guidelines.
- Arrange professional cleaning equipment and quality supplies: vacuum, mop, microfiber cloths, cleaning sprays, oven cleaner, glass cleaner, descaler, etc.
- Notify your landlord or letting agency of your cleaning plans.
- Choose between DIY cleaning or hiring a professional end of tenancy cleaning service.
- Take photographs before and after cleaning as evidence in case of disputes.
Room-by-Room Guide: Deep Cleaning for End of Tenancy
Let's break down the process into actionable steps for all major areas of your home. Use this as your comprehensive end of tenancy cleaning checklist.
1. Kitchen
- Oven and Hob: Remove racks and soak for degreasing. Wipe inside, clean the door glass, and de-scale the hob thoroughly.
- Refrigerator/Freezer: Defrost (if applicable), clean shelves and drawers, remove stains and food residue. Leave doors open to prevent mold.
- Sink Area: Descale taps, scrub basin, and polish any chrome or stainless steel.
- Cabinets & Cupboards: Empty, wipe inside and out, paying attention to handles and corners.
- Worktops: Clear and disinfect all surfaces.
- Floors: Sweep, mop, and pay attention to corners or under appliances where debris collects.
- Bins: Empty and disinfect completely.
2. Bathroom
- Bath, Shower & Sink: Remove limescale, clean tile grout with an anti-mold spray, and polish taps.
- Toilet: Deep clean, disinfect bowl, seat, and exterior -- don't forget the base!
- Mirrors & Glass: Buff with streak-free cleaner.
- Tiles & Floors: Clean all tiled surfaces, mop floors, and check corners for mold or mildew buildup.
- Cabinets & Shelves: Empty, wipe, and sanitize.
3. Living Room and Bedrooms
- Dust All Surfaces: Skirting boards, window sills, shelves, door frames, and light fixtures.
- Carpets & Rugs: Vacuum thoroughly, treat any stains, and consider steam cleaning if required.
- Furniture: Wipe and polish all surfaces.
- Windows: Clean inside glass, frames, and handles. Consider washing curtains or cleaning blinds.
- Closets: Empty, wipe, and vacuum.
4. Hallways and Entryways
- Sweep and Mop: Clean floors and remove dust from skirting boards.
- Closet & Storage: Wipe down and vacuum interiors.
- Light Switches, Handles, and Bannisters: Disinfect and polish for a finishing touch.
Essentials Every Tenant Needs for a Successful Cleaning
Having the right products and tools makes the job easier and produces a more professional result. Consider this your shopping list for end of tenancy cleaning supplies:
- Broom, dustpan, and mop
- Vacuum cleaner (ideally with upholstery/carpet attachments)
- Microfiber and kitchen cloths
- Sponges and scrubbers
- All-purpose spray cleaner
- Antibacterial bathroom/kitchen sprays
- Limescale remover
- Glass and mirror cleaner
- Furniture polish
- Descaler for taps and shower screens
- Disinfectant wipes
- Stain remover for carpets
- Oven cleaner
Professional Cleaning Services vs. DIY: Pros and Cons
Should you hire a professional end of lease cleaning service or tackle the job yourself? Here are key factors to consider:
Advantages of Hiring Professionals
- Experience: Professionals know exactly what landlords and agencies expect.
- Time-saving: Outsourcing frees you up to focus on your move.
- Quality Guarantee: Many companies offer a "cleanliness guarantee" ensuring a re-clean if property managers aren't satisfied.
- Specialized Equipment: Access to commercial-grade vacuums, steamers, and chemicals.
Benefits of DIY End of Tenancy House Cleaning
- Cost-effective: Save on professional fees.
- Control: Focus on problem areas and personal standards.
- Flexible Timing: Clean at your own pace, fitting around your move-out schedule.
Tip: Some tenancy agreements require a professional cleaning receipt for certain items (like carpet), especially with pets. Always check your contract before making a decision!
Common Cleaning Mistakes Tenants Make
Avoid unnecessary deductions by steering clear of these usual errors during end of tenancy cleaning:
- Neglecting inside kitchen cupboards and drawers.
- Missing appliances: particularly the oven, range hood, extractor fans, and fridge.
- Forgetting to descale bathroom fixtures (shower heads, taps).
- Overlooking walls, skirting boards, and doors--scuffs and marks should be removed.
- Windows: Not cleaning inside glass, sills, or window tracks.
- Leaving behind rubbish or unemptied bins.
Landlord or Agent's Final Inspection: Preparing for Success
After your deep clean, the checkout inspection is conducted. To ensure a positive result:
- Cross-reference your work with the original inventory/check-in report.
- Be present during inspection for clarification or immediate fixes.
- Address any feedback from the inspector on the spot.
- Keep receipts for professional cleaning services (if used) as evidence.
Green Cleaning Tips for Environmentally Responsible Tenants
Eco-friendly and non-toxic cleaning is increasingly popular with both tenants and landlords. Protect your health and the planet with these simple substitutions:
- Use biodegradable or reusable cleaning cloths and sponges.
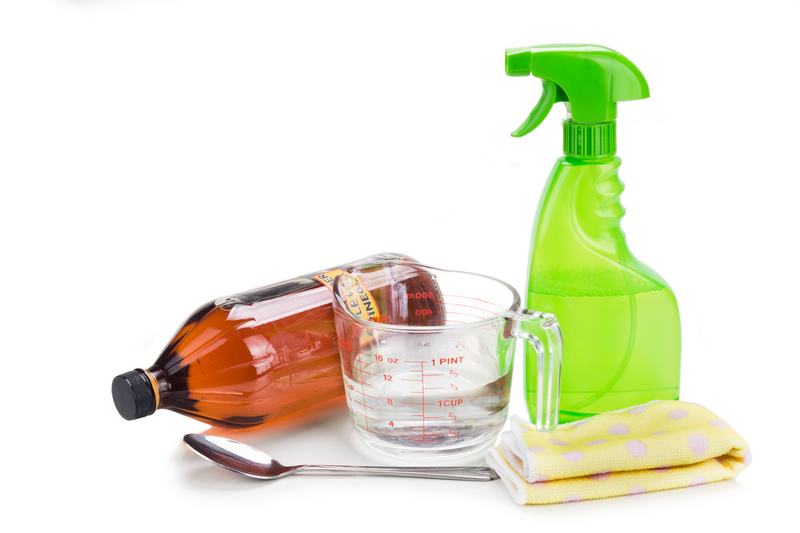
- Employ natural solutions like white vinegar and baking soda for tough stains and limescale.
- Select plant-based or eco-certified cleaning products.
- Open windows to ventilate rooms naturally during and after cleaning sessions.
- Recycle or responsibly dispose of used packaging and old cleaning supplies.
Frequently Asked Questions (FAQs) - End of Tenancy Cleaning
Do I need to clean professionally, or can I clean the property myself?
Unless your agreement explicitly requires a professional service for carpets or upholstery, you may perform the clean yourself, provided the standard matches or exceeds your move-in condition. Take photos as proof of your efforts.
What if the property was not cleaned to a high standard when I moved in?
Refer to your original inventory or check-in photos. Your responsibility is to leave the home in the same or better state than when you arrived--not cleaner than that, unless otherwise stipulated in your contract.
What areas are most commonly checked during inspection?
Kitchen appliances (oven, fridge), bathrooms, walls, carpets, and windows typically receive the closest scrutiny. Pay special attention to these for a risk-free inspection.

Final Thoughts: Mastering Your End of Tenancy House Cleaning
End of tenancy cleaning is your ticket to a full deposit return and a positive rental reference. Although it can feel overwhelming, with organization and the right approach, it is entirely manageable and even rewarding. By following the steps outlined in this survival guide--preparing your tools, working systematically room-by-room, avoiding common mistakes, and considering eco-friendly options--you'll hand back the keys with total confidence.
Remember: a little extra effort now means less chance of contention with your landlord later! For complex or larger homes, or if you're short on time, hiring a trusted professional end of tenancy cleaning company may be the best investment for peace of mind.
Essential End of Tenancy House Cleaning Checklist
- Collect and review your move-in inventory
- Gather supplies and schedule enough time for cleaning
- Clean all rooms as per the checklist
- Double-check most-inspected areas: oven, fridge, bathroom fittings, carpets, walls, and windows
- Remove rubbish and personal belongings
- Take photos for proof of condition
- Arrange a walk-through inspection with your landlord or agent
By following this tenant's survival guide to end of tenancy house cleaning, you can confidently move out, maximize your deposit return, and set the gold standard for tenants everywhere.
Latest Posts
Keep Your Home Immaculate with a Reliable Cleaning Routine
Creative Hacks for Organizing a Petite Wardrobe
Tenant's Survival Guide to End of Tenancy House Cleaning
Ensuring the Longevity of Your Leather Sofa with Steam Cleaning
